A practical guide from a Lisbon-based event photographer who implemented FTP delivery for the first time on a live corporate conference.
When I was first asked to deliver photos via FTP on a live streaming conference here in Lisbon, I had no idea what that actually meant in practice. My initial search for “FTP photography” kept returning results for TFP — time for print — which was not helpful. So I did the research, figured it out on the job, and this post is the guide I wish I’d had.
If you’re an event or corporate photographer who’s been asked to deliver via FTP, or you’re simply curious about expanding your workflow capabilities, this covers everything you need to know.
What is FTP photography?
FTP stands for File Transfer Protocol — a long-established method of transferring files over the internet. In a photography context, it refers to a workflow where your camera uploads images directly to a remote server or folder as you shoot, in real time or near-real time.
Modern mirrorless cameras — including Nikon Z-series bodies — have built-in Wi-Fi and FTP capability. This means you can connect your camera to a network and have it automatically upload each image to a designated folder the moment you take the shot.
“The photos would be in the client’s hands almost immediately — no waiting for an end-of-day delivery, no file transfer, no edit cycle.”
Who uses FTP delivery — and why?
FTP delivery is most common in situations where images are needed immediately:
- News and press photography, where editors need images on deadline
- Sports events, where action shots are published in near real-time
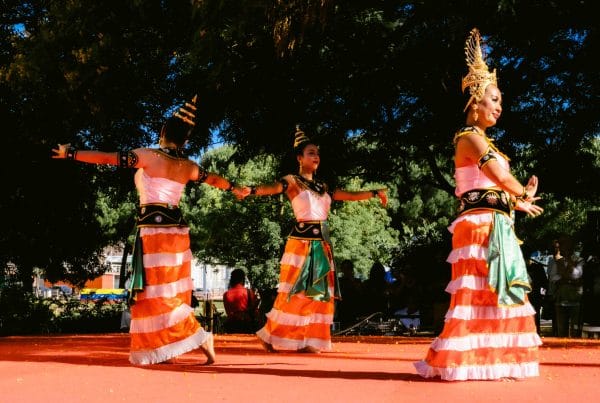
- Live conferences and corporate events, where social media coverage happens during the event
- Broadcast productions that need b-roll imagery available to remote teams instantly
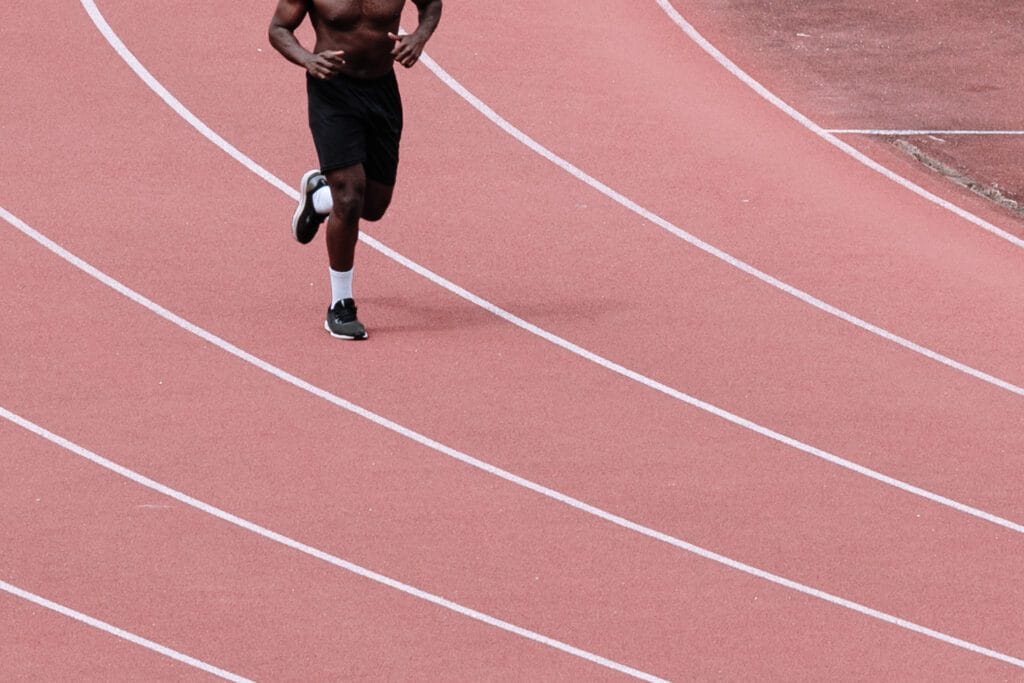
“Live sporting events are an example use case for FTP photography”
FTP vs Dropbox or WeTransfer — what’s the difference?
Dropbox and WeTransfer are delivery tools — you batch upload files after the fact. FTP is a live pipeline — images flow from camera to server continuously as you shoot. The client sees images arriving in their folder in real time, without any action needed on your end beyond taking the shot.
For clients who need images immediately, FTP is the professional-grade solution. Dropbox still has its place as a backup and final delivery mechanism — more on that below.
How to set up FTP on a Nikon Z6 III
The following steps apply to the Nikon Z6 III. The process is similar across other Nikon Z-series bodies and comparable mirrorless cameras from Sony and Canon that support FTP.
Your client will need to provide you with three things: a server address, a username, and a password. These are the same credentials you’d use in a desktop FTP client like FileZilla.
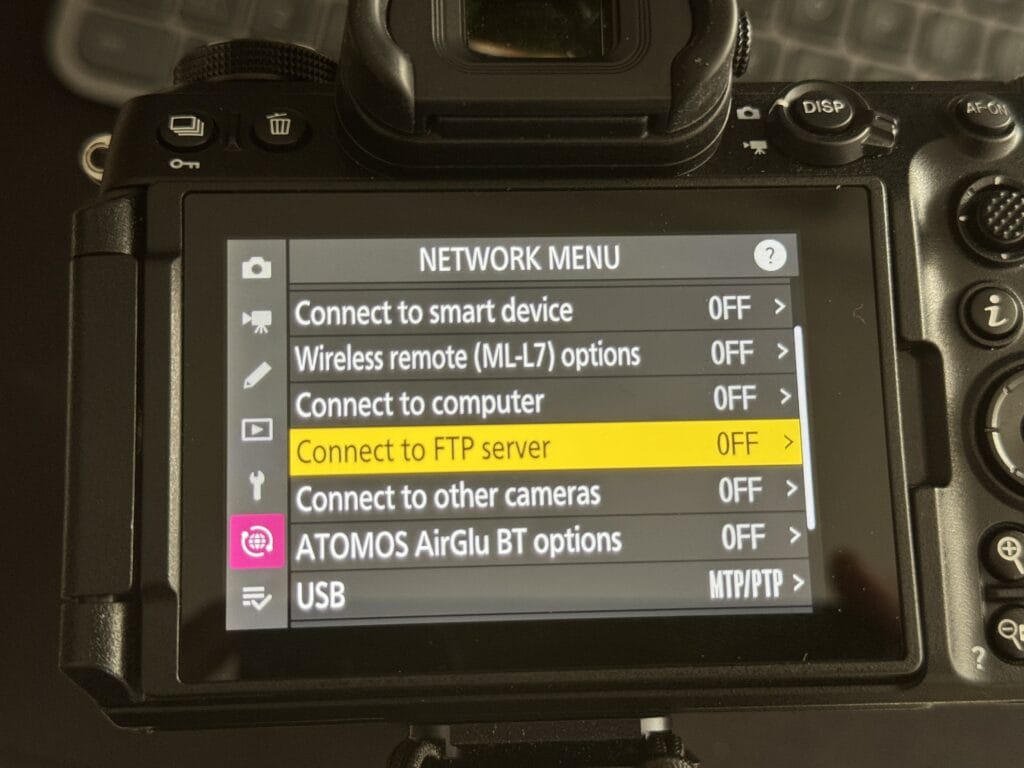
Go to the camera’s menu and navigate to the network/connection settings. On the Z6 III this is found under the wrench icon.
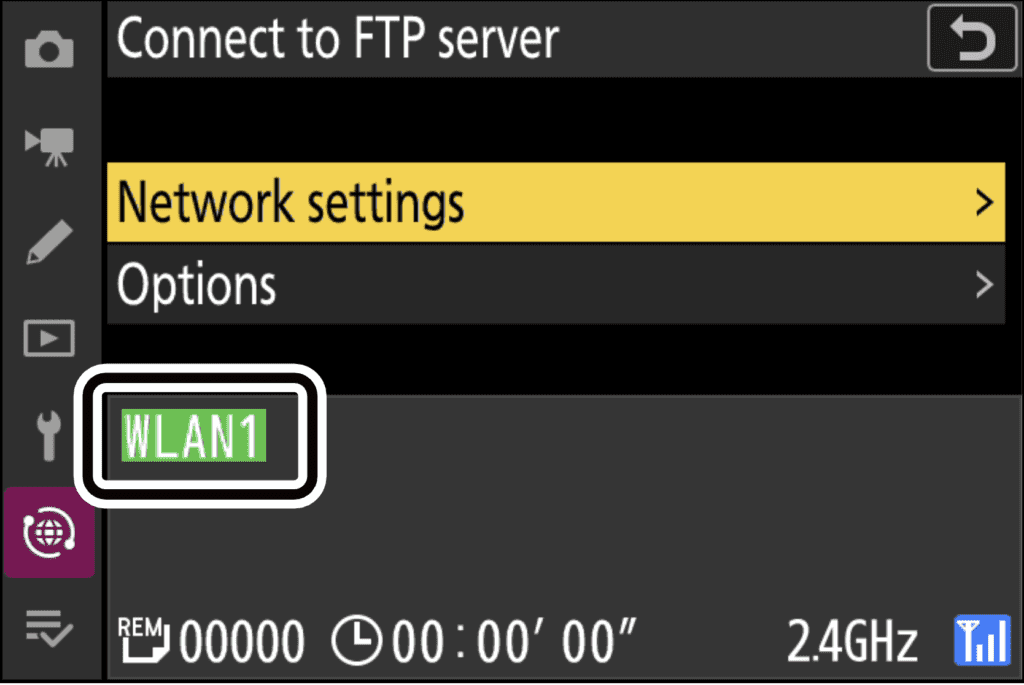
Open the network settings menu>Create profile.
I recommend using the connection wizard which will walk you through the creation of an FTP profile, including the name, Wifi network selection and FTP credentials.
Key info needed to set this up:
- Wifi Name
- Wifi Password
- Server address
- Server Port (typically port 21)
- Folder name
- User ID
- User Password
You can create multiple profiles to use at home, work etc.
Set the camera to upload automatically after each shot. This can be found in the Options menu of the Connect to FTP server screen. Files will begin transferring to the FTP folder immediately as you shoot. Under the options menu you will also be able to fine tune options such as jpeg or raw file upload selections.
Take a test shot and confirm it appears in the client’s folder. Total setup time is around five minutes once you have the credentials in hand.
Reading the upload indicators
Nikon’s FTP implementation uses arrow icons on the camera display to show upload status at a glance:
If you want a deep dive – you can also find the full FTP server instructions on the Nikon online manual.
JPEG vs RAW for FTP delivery
FTP is designed for JPEG delivery. The file sizes are manageable for continuous wireless upload, and JPEGs go straight to the client without an editing step. RAW files — which I delivered separately via Dropbox at the end of each day — are too large for reliable live FTP transfer and require post-processing before they’re useful.
Think of the FTP stream as the live feed, and the RAW delivery as the archive.
The Wi-Fi problem — and how to solve it
Here’s a pitfall that no-one mentions before your first FTP job: venue Wi-Fi is unreliable.
At a busy conference with hundreds or thousands of attendees all on the same network, upload speeds slow significantly. There were blind spots throughout the venue where my connection dropped entirely, which meant images were queuing rather than uploading live.
Ditch the venue Wi-Fi and use your phone as a mobile hotspot instead. This gives you a dedicated, consistent connection that isn’t competing with hundreds of other devices. Make sure your data plan supports the upload volume — on a full conference day, you can move a significant amount of data. This was the single most useful thing I discovered on the job.
I’d also recommend scouting the venue before the shoot if possible — walk the spaces you’ll be working in and test upload speeds on the venue network. You won’t always be able to control what you find, but knowing in advance means you can plan around it.
Shooting discipline on an FTP job
FTP delivery changes how you approach a shoot in one important way: there is no editing step between your camera and your client’s eyes.
On a standard job, a slightly underexposed frame or a soft image can be corrected in post, or simply culled before delivery. With FTP, unless you’re actively managing which images get uploaded, what you shoot is what the client sees. That puts more pressure on getting the exposure, white balance, and focus right in-camera — particularly in mixed lighting environments like conference venues, which often combine window light, overhead fluorescents, and stage lighting.
My approach was to cull actively as I went — reviewing shots during quiet moments and manually flagging or skipping images that weren’t up to standard before they uploaded. It slows you down slightly, but it’s worth it.
There’s nowhere to hide behind editing on an FTP job. It sharpens your attention to the fundamentals.
If you have a contact on the client side who can monitor the incoming folder in real time, brief them to flag any consistent issues — exposure drift, wrong white balance — so you can adjust quickly. That feedback loop isn’t always available, but it’s worth establishing if you can.
Always have a backup delivery method
FTP is not infallible. Wi-Fi drops, server credentials occasionally fail, and there are always variables at a live event you can’t plan for. On the conference I shot, we used Dropbox as a parallel delivery channel for the full RAW archive — this also served as a safety net in case anything went wrong with the live FTP stream.
Bring your laptop. If for any reason your camera’s FTP connection fails, you need to be able to fall back to a manual upload via a browser-based FTP client, Dropbox, or WeTransfer. Don’t let a technical failure mean the client has no images.
Summary: what to prepare for your first FTP shoot
- Get FTP credentials from the client in advance — server address, username, password
- Test your connection before the event day, not on it
- Set up your camera to deliver JPEGs via FTP; plan RAW delivery separately via Dropbox
- Use your mobile hotspot rather than venue Wi-Fi for a reliable connection
- Ensure your data plan can handle the upload volume for a full shoot day
- Bring a laptop as a backup delivery option
- Shoot with more discipline — dial in exposure and white balance carefully; cull actively
- Brief a client-side contact to monitor the incoming folder and flag issues if possible
FTP delivery is a genuinely useful skill for corporate and event photographers, particularly as clients become more accustomed to real-time content for social media. It’s not complicated once you’ve done it once — but the first time is easier with a clear picture of what to expect.
If you’re an event planner or photographer in Lisbon or Portugal looking to discuss an event brief that requires live delivery, feel free to get in touch.